|
The holiday season is here! Make a fun, hands-on craft with your kids using Paiho Hook and Loop products.
Materials You will Need:
- Printed PDF below for outlines/templates (Snowman and Accessories)
- Scissors
- Black Marker (for face details)
- Pencil (for tracing)
- Paiho Hook and Loop
| Hook |
Loop |
Adhesive loop |
Adhesive Loop Coins |
| RED |
WHITE |
WHITE |
WHITE |
| GREEN |
|
|
BLACK |
| BROWN |
|
| ORANGE |
|
Step-by-Step Instructions
- Print the provided PDF with all the snowman pieces and carefully cut out the paper templates.
- Flip your Hook and Loop materials over. Trace the cut-out paper templates onto the back side of the corresponding-colored Hook or Loop material using your pencil or marker.
- Carefully cut out all your Hook and Loop pieces.
- Set the large 4″ White Loop material aside, this is your snowman’s body and base! All the Hook pieces will attach to this.
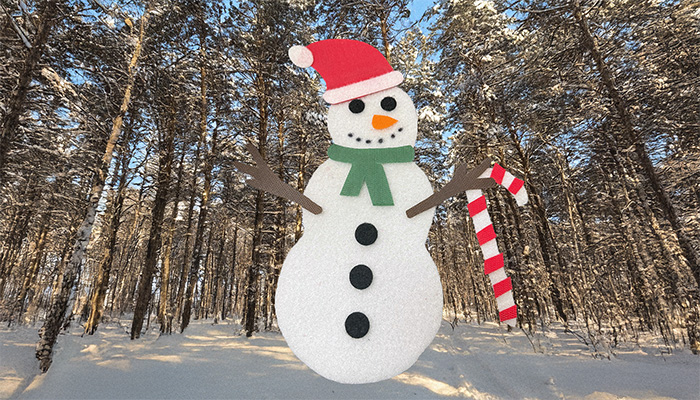
- Starting with the larger pieces, arrange the Red Hook Santa Hat, Green Hook Scarf, Orange Nose, and Brown Hook Arms onto the White Loop body.
- Peel and stick the two 3/8″ Adhesive Black Loop Coins for the eyes.
- Use the black marker to draw on a fun, smiling mouth!
- Peel and stick the three 5/8″ Adhesive Black Loop Coins down the snowman’s body for buttons.
- Finish the Hat:
- Peel the backing off the 1/2″ White Adhesive Loop strip and attach it to the bottom edge of the Red Hook Santa Hat for the brim.
- Peel and stick the 3/4″ Adhesive White Loop Coin to the tip of the hat for the pom-pom.
- Make the Candy Cane:
- Cut thin strips of the Red Hook material and stick them diagonally across a small piece of the White Loop material to create a striped candy cane accessory.
Learning and Play Benefits:
- Fine motor skills: drawing, cutting, sticking, and assembling
- Problem-solving: matching hook vs. loop sides and placing pieces correctly
|

%20Scissors%20Black%20Marker%20(for%20face%20details)%20Pencil%20(for%20tracing)%20Paiho%20Hook%20and%20Loop%20Hook%20Loop%20Adhesive%20loop%20Adhesive%20Loop%20Coins%20RED%20WHITE%20WHITE%20WHITE%20%5B…%5D&media=https://paiho-usa.com/wp-content/uploads/2025/12/snowman-hook-and-loop-blog.jpg)