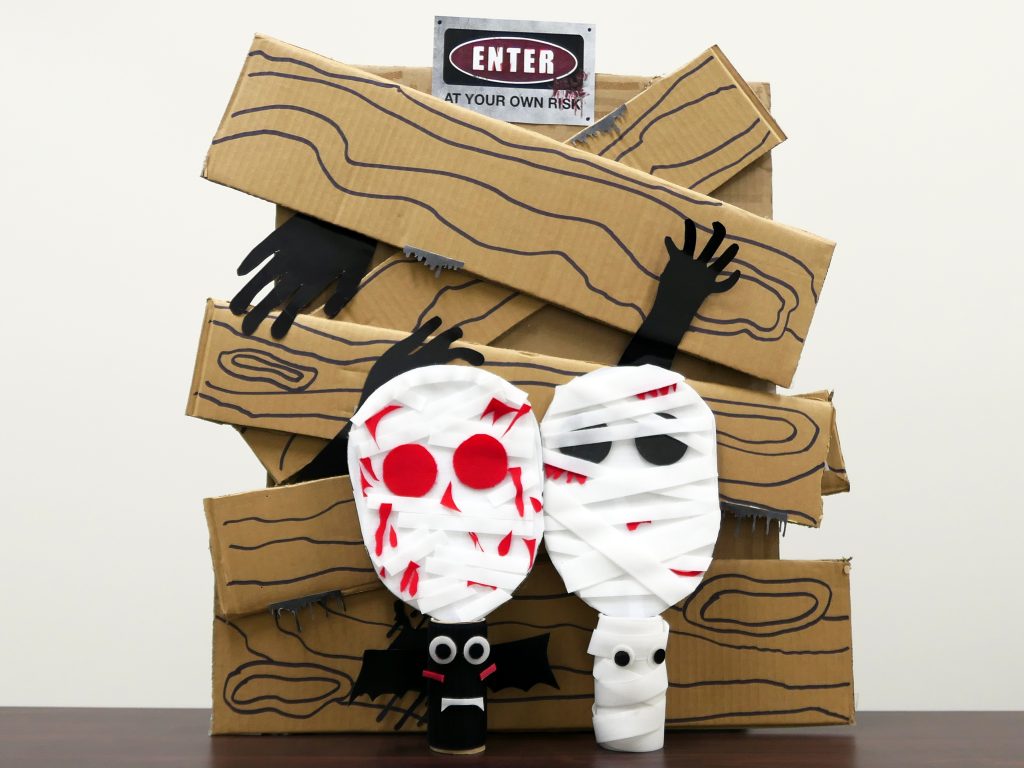
Halloween is right around the corner, which means it’s time to decorate your house for trick-or-treating and Halloween parties! In this DIY video, we will show you how to make a mummy mask in 5 easy steps. You can wear this mask out or use it as a fun photo booth prop. Get creative and make your own variations!
Here’s What You Need:
- 6″ White Hook
- White Loop (any width)
- 1-7/8″ Black Loop Adhesive Coins (rubber or acrylic)
- Red Loop (any width)
- Face template
- Scissors
- Tape
- Plastic knife, popsicle stick, anything that works as a handle

Here’s How To Make Your Halloween Mummy Mask
Step 1
First, cut out the face template. Then tape the 6″ White Hook over the template and cut along the outline.
Step 2
Tape the plastic knife (or whatever you are using for the handle) at the bottom of the face, in between the hook and paper layers.
Step 3
Cut out the 1-7/8″ Black Adhesive Loop Coins (leave the plastic backing on). Attach loop side to hook.
Step 4
Cut out thin strips of white loop to make the mummy’s “bandage.” Criss cross it back and forth across the face, attaching the loop side to the hook. Your white loop strips can be varying widths, so no need to make them all the same!
Step 5
Cut out red loop pieces in wavy shapes to look like blood. Attach the loop side to the hook. Feel free to add any other decorations you want to your mummy mask!
************************************************************************************
All done! Feel free to check out our other Halloween DIY craft videos to get more decoration ideas, and subscribe to our Youtube channel for year-round crafting and DIY videos!
